Users Guide
Chapter 5. The Blog
The MANAGE BLOG control allows you to create one of the most useful things you can
do on the internet; Blog. Additionally the powerful editor allows it to easily be
used as a product catalog and shop since you can put PayPal buttons in your entries.
Powerful preview options are available as well and even automatic tag clouds which
are generated for easy SEO and even easier search. The Blog just might be the coolest
thing since sliced bread.., no wait, that's the ink pen.., no wait, that's the Internet
itself..no...anyways; The Blog.
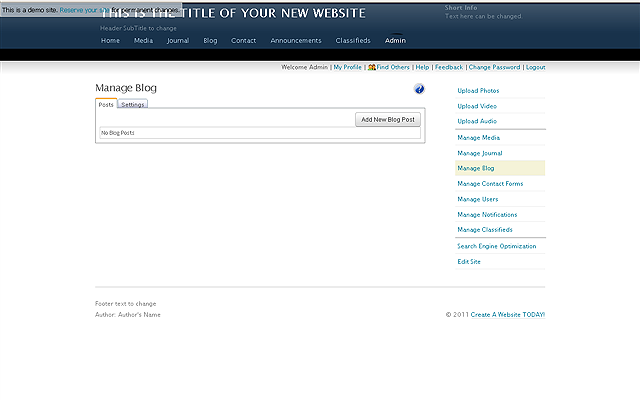
Click the MANAGE BLOG control from the Admin control area.
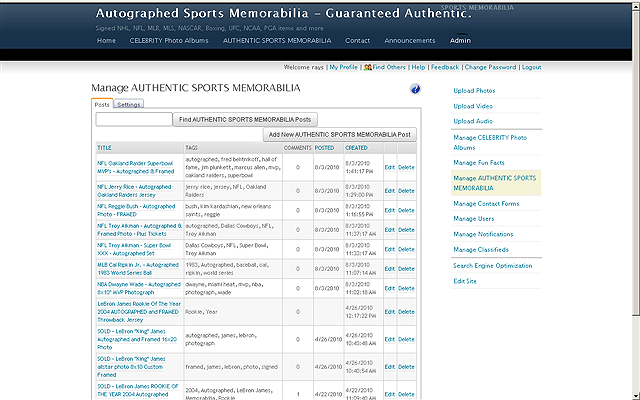
If you have already used the BLOG, your entries will show up here and you can search
for an entry as well. To DELETE or EDIT a post simply
click. You can see when a post was created and how many comments it has received.
NOTE: The date a post was created can be different from the date it was posted
because you can edit postings at any time and you can work on them without publishing
them as well.
NOTE: In the example below you will notice that the BLOG has been RENAMED,
which you can do to ANY of the sections of your website.
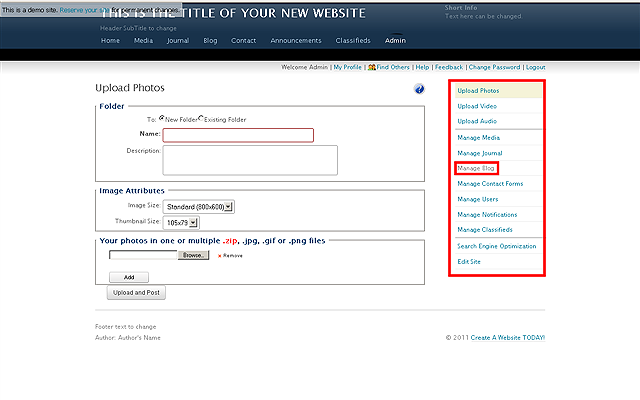
If you have not used it before you can create a New Blog Post by clicking the ADD NEW BLOG POSTbutton
Once clicked you will see the following screen
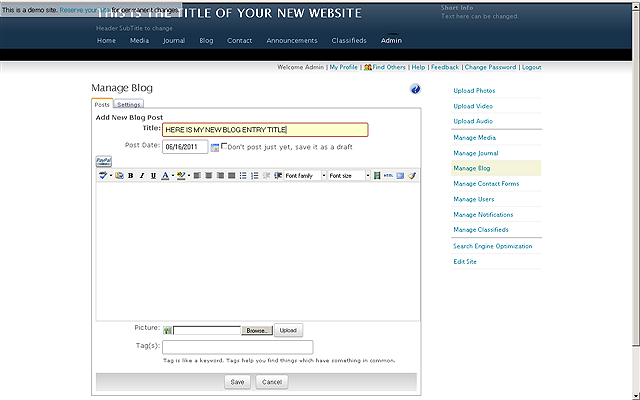
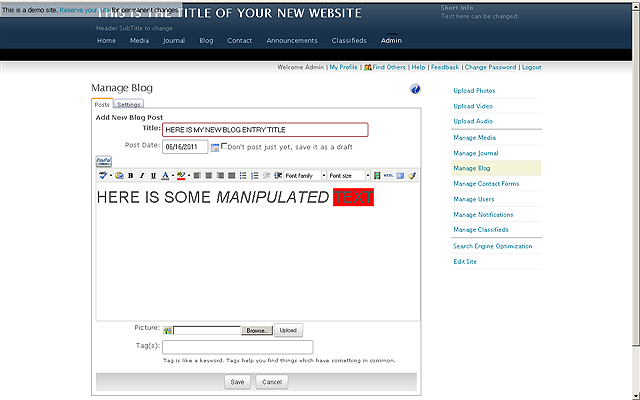
The editor for the Blog has lots of advanced features and even lets you cut &
paste content directly from the Internet if you choose too. You can select Font
Sizes and family types along with colors, bulleted list and layouts. Using the Blog
functionality you can create nearly any kind of page since each entry can be manipulated
independently of the rest. If you can think it and visualize it you can use this
editor to do it. Another option is to use your favorite WYSIWYG editor and then
paste either the HTML code or the visual version into the Blog entry via the CTRL+C
and CTRL+V key combinations on your keyboard. Don't forget to add those important
TAGS to your entry so the search engine spiders can get you onto the rankings and
your TAG CLOUD can help your visitors see what your Blog is all about fast! You
may change the DATE to whatever you like for the postings.
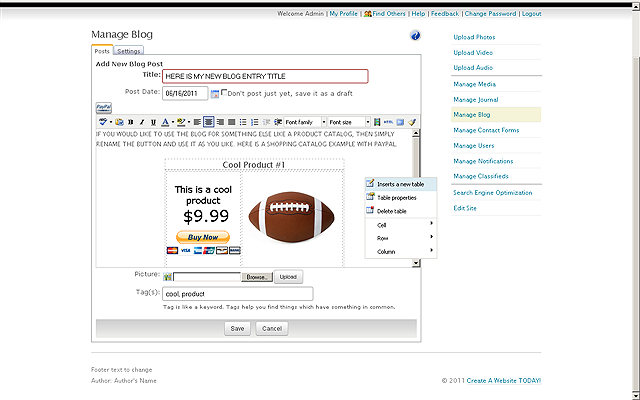
Add PayPal items, Tables, pictures and
more. To create the example Item For Sale you see below we simply right-clicked
and created a table with two rows and split the bottom row into two columns, then
added our PayPal button by clicking the PAYPAL button on top of the SPELL CHECK
button. Then once we put in the price and chose to show the Credit Card icons, we
cut and pasted the completed Paypal button into the column we wanted. Then in the
next column we used the UPLOAD to place a picture of our item. Finally on the top
row we added a title for our item and clicked the SAVE button on the bottom. BAM!
This all took about 30 seconds.
NOTE: Right Click to access MORE functionality like TABLES within the editor.
NOTE: Check the DONT POST
JUST YET, SAVE IT AS A DRAFT checkbox if you want to work on the entry and save
it without publishing (this means visitors will not be able to see it until you
uncheck that box)
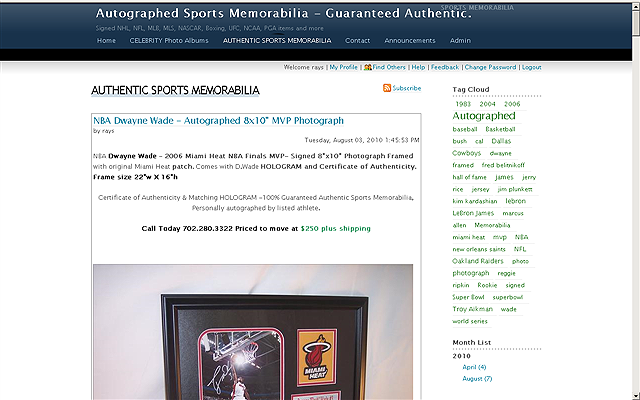
Here is what a visitor will see (if preview is selected in the Blog settings). Once
clicked the entire post will show. Using this feature it is possible to ADD MANY
PAGES TO YOUR WEBSITE. You can use the Blog module on your front page as sort of
a DIRECTORY or SITEMAP to the various entries or types of entries you have created.
A great example is to use it as an ECOMMERCE STORE like in this example where each
posting sells a different item and on the front page in the Blog module it provides
a nice list of available products. Of course your visitors can leave comments on
your postings as well so you can see what's hot and what's not..
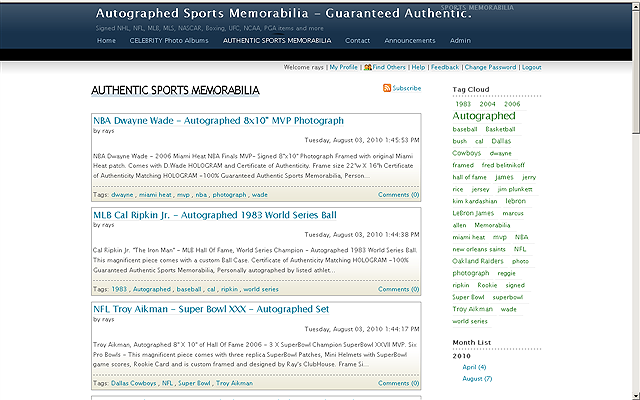
What happens when a visitor clicks the preview of a post (The whole post will show
as described above). The TAG CLOUD shows the content of the post visually with larger
words indicating the frequency with which they appear in the posting. This helps
people see what your post is about fast, and help search spiders do the same thing.
NOTE: Your posting are listed in
order by the date. If you want to change the order of the post (or the list visitors
see in the Blog module on your front page), then edit the post and change the date..
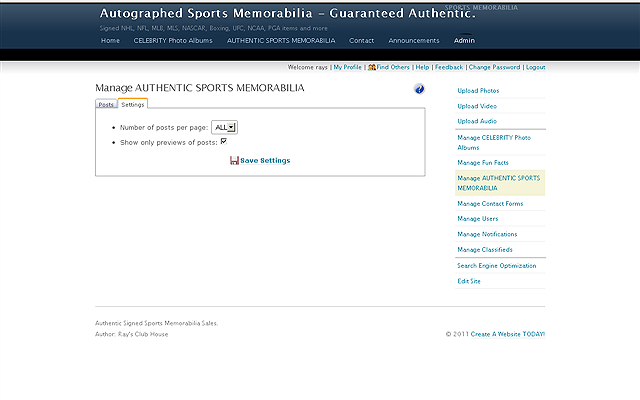
You can select the number of post that will show on a particular page and if the
entire post should show expanded or in preview mode. Be sure to click the SAVE SETTINGS
button when you are done selecting your settings.